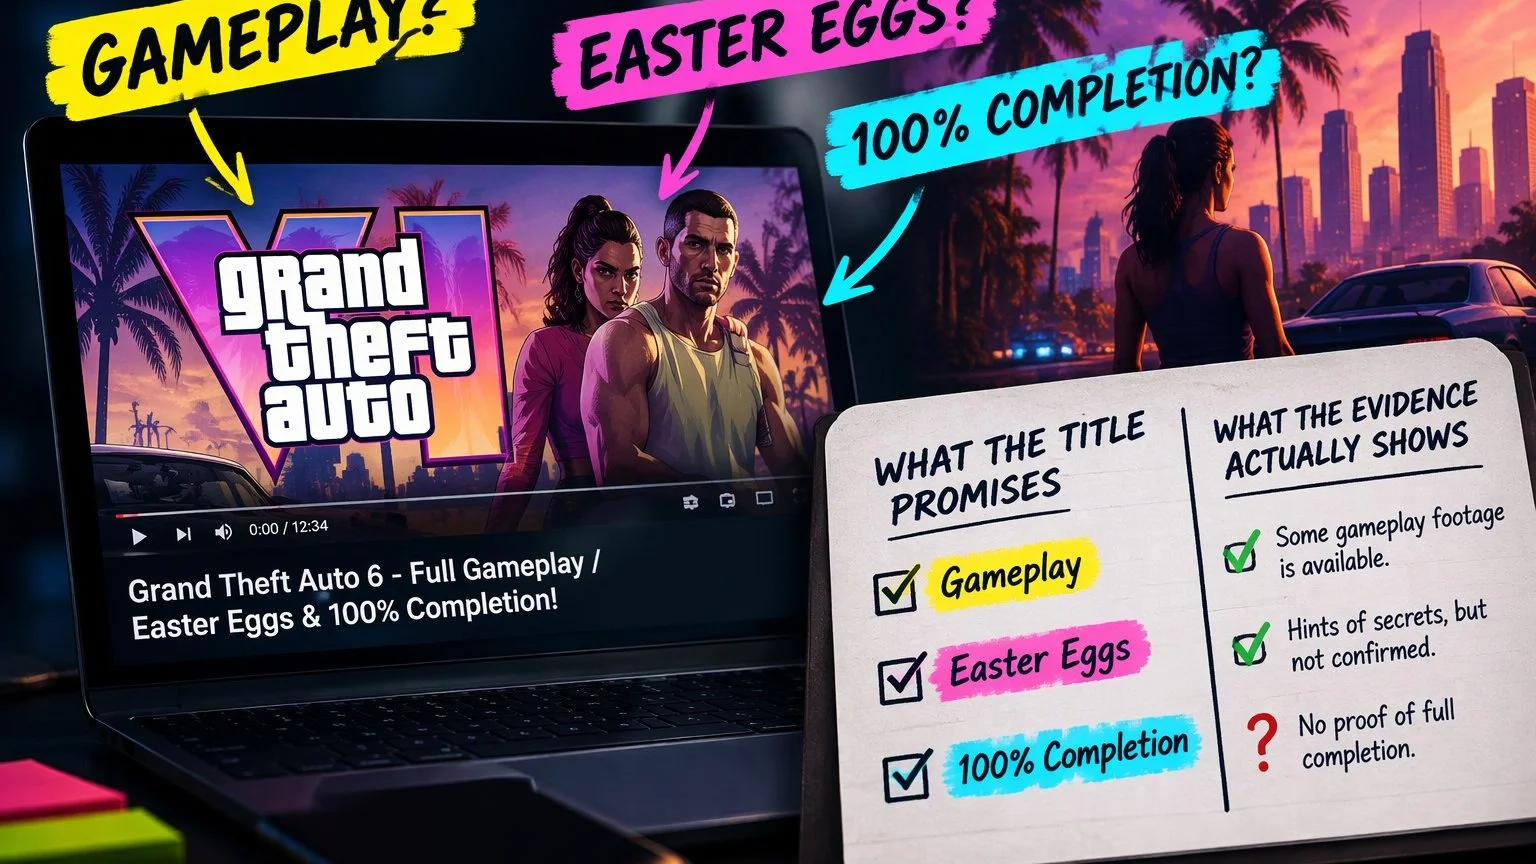
How To Film A GTA 6 Breakdown
Make a 3–4 minute gta 6 Vice City preview that examines three details visible in official footage. Frame it as a newcomer's guide to what you can actually see, rather than a list of promised features.
A familiar location can become a specific viewing mission: which details tell you something about the setting, and which leave questions unanswered?
Official footage with source labels, paused frames, close-up crops, and on-screen labels separating observation from speculation.
Viewers get three grounded observations about Vice City, plus a clear boundary between what the footage shows and what remains unknown.
THE TAKE
1. Choose one viewing mission.
[ ] Use the trending keyword to pick the subject, then narrow it to “a newcomer's first look at Vice City.”
[ ] Borrow the concrete scenario from xQc's supplied title, "Moving to Vice City | GTA 6 Playthrough #11," without copying it or implying you have playable footage.

[ ] Choose three visible details you can explain with evidence.
THE MECHANISM
2. Build the proof before the script.
[ ] Save each source link and identify the exact frame you'll discuss.
[ ] Write one observation per frame. Separate any interpretation with wording such as “this could suggest.”
[ ] Package the video around that viewing mission.
Title template: "gta 6: [Three Details] Before Your Vice City Move"
Thumbnail test idea: Compare one readable, tightly cropped frame against three detail crops. Keep the title unchanged; check which image makes the video's promise clearer at phone size.
EXECUTION
3. Film the breakdown today.
[ ] Record a 3–4 minute narrated screen breakdown.
[ ] Open with this hook template: "Planning your gta 6 move to Vice City? These [three details] show [specific observation]—and leave [specific question] unanswered."
[ ] Show each frame, highlight the evidence, and explain its limits.
[ ] Finish with a concise “shown / still unknown” comparison.